Showing posts with label school. Show all posts

Friday, July 24, 2015

where the wild things are: giant costume heads and puppets


Every year, the parents of Eugene's Parent-Child Preschool put on a theater production to entertain and educate the kids, and help raise funds for the school. This year's production was Where the Wild Things Are. It was an ambitious production, but we made lots of cool stuff! For more info about the school and to look at a gallery of past production posters, you can visit the school's site at www.eugenepreschool.org.


Max's crown; felt + furry felt.

Goat-head wild thing puppet; felt, cardboard, masking tape, hot glue, thread. This is my second-ever performance ready puppet. This is the first: http://nightgardendesign.blogspot.com/2014/03/happy-birthday-dr-seuss.html

Bull-head wild thing head mask, in progress.


Long-haired wild thing head mask, in progress (group project).

This wild thing mask is the one I made for the Mr. for Halloween a couple of years ago. http://nightgardendesign.blogspot.com/2011/11/pinterest-challenge.html. Claire made the bird-head wild thing puppet masterfully (first time!)

Dress rehearsal! The sets were created by Anneka, Lisel, and crew, mostly of recycled cardboard boxes and latex paint.

Finished goat-head puppet, and bull-head wild thing head mask.

Long-haired wild thing head mask and Carole's gorgeous orange-nosed wild thing puppet.

I was lucky to recruit two amazing seamstresses (Claire and Carole) who are also very adept at learning to construct puppets and costume heads from cardboard, felt, and hot glue. Amazing work.


Max's costume, and more amazing backdrops.


Thursday, September 5, 2013

aging painted metal signs

I've done a couple of posts now on how to make vintage-look painted signs on metal panels, but I'm still perfecting my methods as I work my way up to a large project. I have a patch of fence, though, in the backyard, that is chain link, and ugly, and has a tiny dog on the other side (a pomeranian, I think) who likes to bark at us when we're minding our own business in our own yard (but only when he can see us). And I had some metal panels laying around, ready to get made into signs.

A project for every purpose, hmmm?


So, let's not talk about how I should have used a template before taping and spraying so that everything would look a little more professional. I freehanded this in chalk and then taped around it; I know it doesn't exactly dress to impress. But I would like to write a little about my experiments with aging. Aging the sign, that is, not myself. (*wink*)

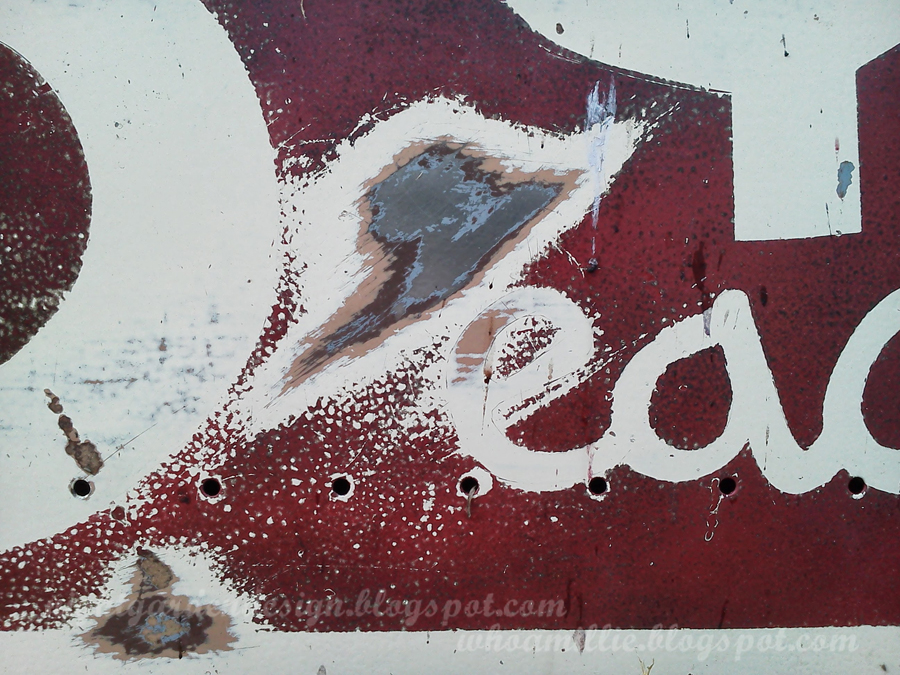
First, I started with a cream painted metal panel from Bring, the recycled building store where I pick up a lot of my project materials. As you can see in the sanded spot in the photo below, there were three other layers of paint under the cream: tan, brown, and gray before the steel shows through. Picking a panel with a lot of layers of old paint in dated colors is a great first step towards making something look vintage, I think.


After I taped my lines, I sprayed with a flat black primer, and then three very light coats of cherry red. Some of the black still shows through, with I think lends some nice age.

You can tell from the above photo there is a flat finish to the red paint. It was glossy out of the can, but if you hit anything with enough scrubber pads, sandpaper, and steel wool, you can dull the finish pretty nicely. 

As you see here, my next method to aging is to scrub all the way through the layers of paint in several areas, down to the bare metal. I made the patches somewhat random in order to look like "natural" aging. 

And then, of course, rust. I scrub the area with salt while it lays flat, then spray with vinegar and leave it to do its thing. Voila! (It's still wet in this photo, but you can still make it out.)


Ah, rust. I left this laying flat in the rain for a couple of days, which helps hasten the process.


I let the kiddo dance on it a bit, too, to give it some dents and chips.


So, the aging is going well, and this hides a pomeranian. Mission accomplished!


Stay tuned, as I'm in the middle of another sign project I'll be sharing soon. This one is even bigger and way cooler.

Thanks for reading!


Tuesday, August 21, 2012

progress (part two): a new closet door

Follow my blog with Bloglovin, if you'd like!

I promised to follow up my post about our thrifty guest room makeover with an update about the closet. And here, a little more than a year later, is the finished product.

I wish I had a "before" image to show you, because the new version looks so much better.


When we moved in, this little closet was unfinished looking, built of 1970s wood paneling and fence boards. Painted barn red. Aack. Trust me, it was U-G-L-Y. And though it doesn't need an alibi, I'm giving it one.

I added sound-proof acoustical board to the back; new shelf supports, boards, and trim to the shelves; and new flooring to the tall side, then caulked and painted everything in coat after coat of primer and paint. Already, it looked much better, but I wanted a door of some sort to cover up the storage. I saw someone use a roller shade as a closet door in a magazine (Living, maybe?) and inspiration struck: I started hunting down an old classroom map.


This one is just about the perfect size. It's a bit outdated (so the population chart at the bottom is really off), but then, so are the globes in my globe collection, and they're not hurting anyone (we teach the kiddo using a new one, so the older ones are just for decoration).

Does it count as a thrifty find if I scored the map on eBay? It only ran me $30.


And I think it looks kinda awesome.

It's pretty easy to hang one of these, if you can find one with the metal roller mechanism intact.


It's a simple matter of two s-hooks, two brackets, and some screws from the hardware store.


Because this is the spare bedroom, we use the closet to store excess canned food (no pantry + small kitchen lead to this sort of behavior), printers, camping gear, and the goods for my Etsy shop. We used to keep the stroller in here, too, but it's been outgrown by my two-year-old, so we donated it to the thrift store this week. One item in, one item out!


The best part, I think, is that I can set the map at any height to hide everything, or just the stuff at the top, or anything in between. It's pretty great.

Thanks for reading! Have you been doing anything awesome with maps lately? Do tell!

p.s. you can make these photos larger just by clicking on them, but you probably already knew that.


Linking up to:

Simple Design's Thrift Haul
Cap Creations' Thrifty Love
Southern Hospitality
Thrift Share Monday
I'm Crafty!
Mop it Up Mondays


Friday, July 27, 2012

thrift store finds: chairs for kiddo

Woohoo! A new chair for the kiddo! In two easy steps!


I was at BRING a little while back and saw this yellow Little Tikes chair in the free pile. It was a little stained and cobwebby, but there were no holes or chew marks or anything, so I snagged it for the kiddo, figuring it would be a great addition to his backyard play area.


After cleaning, I just put it on some old cardboard and sprayed it with some spray paint meant for plastics.


Just a couple of light coats, then flip it and get the underside, too.


Dries in just a few minutes! I finished it up before we went on a road trip, so it had a week to cure. It blends in with our other yard furniture a lot better now, and it was free.


I also found this little Virco school chair for half off a couple of weeks later, also at Bring.


I know; no one's buying this rusty little guy for what Virco is charging for them right off the assembly line ($160? Wow.). But I still think it was a heck of a steal for $1.50. I'm not sure yet what I'll do to it, but it will probably involve paint. ;)


What about you? Any new seating in your back yard? Any fabulous thrift store finds? I love following your (non-spam) links in the comments section below!


p.s. You can make these photos larger just by clicking on them, but you probably already knew that!


Linking up to:

Simple Design's Thrift Haul

Monday, June 18, 2012

nostalgia, part two


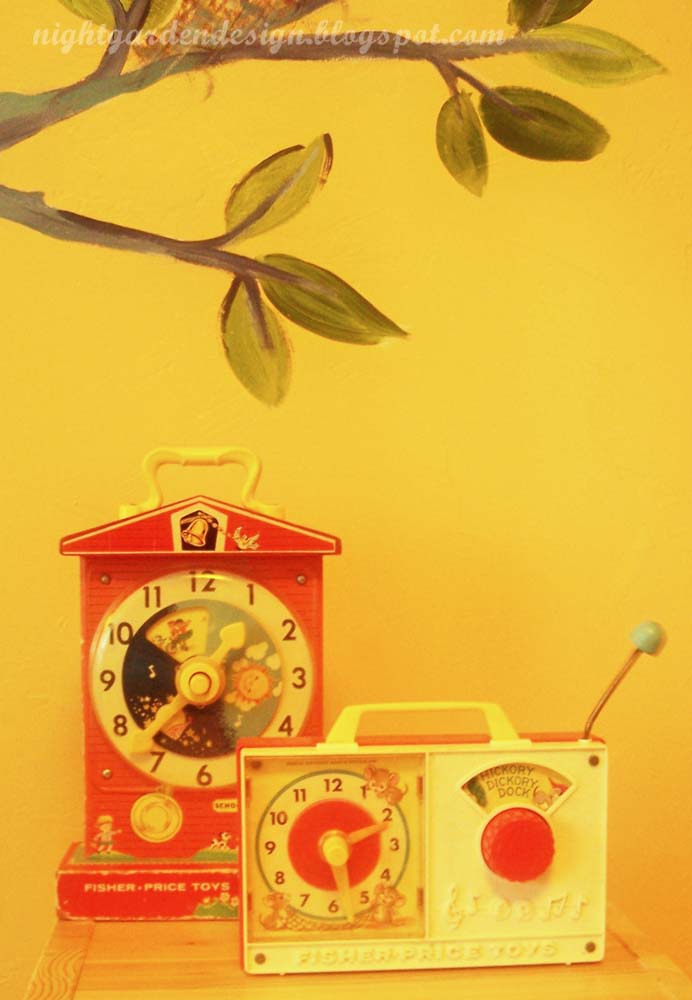
FOUND: a vintage Fisher-Price Hickory Dickory Clock Radio and a vintage Fisher-Price Teaching Clock.


Add these to the Chime Ball we found awhile back, and we have a neat little vintage Fisher Price collection going on, thanks to our local thrift stores. The kiddo's loving them almost as much as I do!


Linking up to:

Simple Design's Thrift Haul