Showing posts with label present. Show all posts

Saturday, June 14, 2014

potato print onesies (baby shower project)

Inspired by a similar project from Martha Stewart Living and the potato printing projects of my youth, these are a fun, fast, simple project for a baby shower. We made these at a shower I hosted for one of the moms from our preschool, expecting her second baby. 

Potatoes make good stamps for printing on paper or cloth. Cut them into simple shapes, use foam brushes to apply fabric paint (we used Kid Made Modern fabric paints from Target's selection of kids' art supplies), then stamp shapes to make pictures or scenes. After dry, heat set with an iron, and they're ready to wear!


Linking up to:
I Should Be Mopping the Floor

Tuesday, April 22, 2014

subway tile baby shower quilt

A friend of ours from the preschool had a baby shower for her second kiddo, a girl, a couple of weeks back, and in celebration I made this quick little subway tile-style baby quilt.


The top is made of vintage textiles I've collected at thrift stores and estate sales (poppies + stripes), stuff from my stash (including a pair of Heather Ross prints and some cute owls), and a couple of my own prints from Spoonflower (the measuring tape and cupcake prints are both mine). The kicker is that I also used a crib sheet from the recipient's registry for some of the blocks as well as the quilt backing, which ties it in nicely to the nursery bedding.


The subway tile pattern is a pretty simple one to replicate. Just cut 48 rectangular blocks (mine are 4 inches x 10 inches) and stitch into rows of four, pressing seams flat when done.

Every other row, cut a 5-inch section off of one end, and attach it to another end. Then sew the rows together to make your quilt top twelve rows high. Press all seams down.


Instead of quilt batting, I used some organic cotton + organic bamboo sweatshirt fleece in between the layers. I had it on hand and it gives the quilt a nice weight and a sturdiness that will help it last a nice long time.

I stacked and pinned the layers just like I did for my sister's wedding quilt, only on a smaller (and quicker) scale. When quilting the layers together, I stitched along both sides of each horizontal seam and called it good, except for the corners. There, I stitched some simple designs: a fish, a bird, a leaf.


I used the quilt binding technique introduced to me by the Smile and Wave blog; it's taken all the mystery out of quilt binding for me, and lets me coordinate binding to my project, which I love. I'll link to it once her site's back up. Updated 6/7/13: Here's the link.


Basically, cut 3-inch strips, sew together at an angle to avoid bulky seams, then press flat. Fold almost in half along the length (favoring one side by about 1/4 inch), press, then fold edges to the center and press again. The wider side goes on the back of your quilt, so that when you run the quilt through your sewing machine the top and bottom are certain to both get caught in the stitches.


After that, the hand finishing is a cinch.


It was a big hit with the mama-to-be, and I was pretty happy with it, too! A couple of people asked if I sell my quilts; I don't at present, but I really like to give them as gifts.

Thanks for reading! If you make your own subway tile quilt, I'd love to see!

Linking up to:
My Repurposed Life

Friday, February 14, 2014

chevron wedding quilt (part three)


**Alert! This is going to be a bit of a long post because I'll be writing today about the quilting and binding steps, as well as showing photos of the finished project. After spending so many hours on this quilt, I'm really eager to just have it out in the world. Enjoy!**


When I left you off on the progress on my sister's wedding quilt (previously written about here and here), I had so far:
• taken wedding reception fabric + coordinating fabrics and cut them into triangles
• paired the triangles together to make squares
• counted the squares and designed a chevron-pattern layout in Illustrator
• sewed the squares into rows
• sewed the rows into a quilt top
• laid out the backing, batting, and quilt top and pinned them together.


On a small scale, like a doll quilt or a baby quilt (both of which I've made several of before), this doesn't take much forethought or effort, but this was my first queen-sized quilt and the logistics were way beyond me.


When it came time to sew the layers together, I had free-motion quilting in mind. In the end, I decided to go a different way because: a) I don't own a long arm quilting machine; b) hiring someone else to do it is way too rich for my blood; and c) it would have taken three weeks before it was returned to me. So I scrapped my plan and my "out-of-my-league" ambitions, and went with something a little simpler.


I started out by "stitching in the ditch". That is, with every row and column, I stitched along the seam, hidden in the crease. Then, along each diagonal, I borrowed a method from Rachel Denbow over at Smile and Wave and stitched along either side of the seam to emphasize the chevron pattern on the back.


With a large quilt and a regular-size sewing machine, what made this possible was using thin quilt batting and keeping the quilt rolled as I worked on a section at a time. If I hadn't taken the time to keep the quilt rolled, I would have ended up with a bunchy mess or possibly with weird corners of the quilt sewed together.


I used scraps to make the binding using this method, again using a tutorial from Smile and Wave. Basically, I cut all my leftover squares into three-inch wide strips and stitched them together.


After ironing, I attached the binding by following the tutorial seen here. It looked really, really nice. By far the nicest quilt binding I've ever made. Also the most labor-intensive, so there's definitely a connection between effort and results on projects like this.


To finish things off, I embroidered a mason jar with their initials onto the back of the quilt.


When all of the machine sewing, hand sewing, and embroidery were finished, I tossed the quilt into the dryer with a couple of dryer sheets and two damp hand towels to give it a finished look, a fresh smell, and to help remove some of the cat hair my house tends to add to projects. Nothing's worse than a labor of love covered in pet hair. (exaggeration)


Phew! So the next step was to wrap it off and send it. I'm sure those of you who've attempted a project like this can empathize with that stress. I wrapped it in parchment paper, put it in a cardboard box, and absolutely covered the box in packing tape. And then I paid for an extra $250 worth of insurance, because dammit, if anything happened to it in transit, I knew I didn't have the moxie to start a new one right away and I'd just have to buy her a quilt. I had my eye on this one.

Luckily it arrived in stellar condition, and my sister loves it to bits. I hope it lasts a long time in her happy home, and survives to be the heirloom I mean it to be. 

Thanks for reading along as I tackled this! Top tip for anyone who might be thinking about starting their first large quilt: take time for all those time-consuming preparatory steps. I'm an anxious crafter and I tend to prefer immediate results, but I'm always happier with the final product (always) when I take time for things like measuring and ironing and trimming. Word to the wise.

p.s. you can make these photos larger by clicking on them, but I'm sure you already knew that, clever you!

Tuesday, December 24, 2013

hey paul, paul bunyan

In Portland's Kenton neighborhood is a 31-foot Paul Bunyan statue that I've mentioned before here. Inspired by our travels this past year, I decided to start a new series of kitchen towel calendars based on landmarks and attractions of Oregon, and I picked the Portland Paul Bunyan as the 2014 feature.


I worked the design in several parts on watercolor paper using watercolor pencils, then combined the images in Photoshop and finished up the layout and typography in Illustrator.


I was so excited when the fabric arrived from Spoonflower. I'd never ordered their linen / cotton canvas before; I'm pretty impressed with the quality of the fabric and the printing. Perfect for this year's Christmas boxes.


I finished off the backs with some grosgrain ribbon corner hangers and a 3/8-inch hem.


I'm really happy with how the towel calendars (or "towelendars") turned out, and I'll definitely be planning the next in the series for 2015. 


Here's one in its pretty wrapper (printed on brown paper sack that I've inked with a wood grain pattern).


If you're interested in having one of your own, you can order the fabric from my Spoonflower shop whenever you're ready. One towel prints to a 1/4 yard of linen / cotton canvas, or get a full yard for four towels. I'll update here, too, when I get these listed ready-made in my Etsy shop.


Thanks for reading, and Merry Christmas!


Sunday, November 24, 2013

just in time for the holidays: 7 diy gift tutorials from my blog


With the holidays coming up, I wanted to put together a quick post for you all featuring links to seven of my most popular DIY gifts! Here they are, in no particular order, so you can spend less time and money at the mall this year, and give gifts that mean a lot to family and friends who mean a lot to you.

1) The Inventor's Supply Kit


Originally made for my nephew, this has been popular on Pinterest this past year. Wanna put one together for someone special? Here's the link.


2) Rupee Crayons


These were party favors for my kiddo's second birthday party, but if you make a mold using the silicone kit I link to, you could make a set for every kid on your gift list. They look awesome, but are really inexpensive and fun. Find the tutorial here.


3) Faucet Handle Coat Rack


If you like upcycling and repurposing (and you have a second-hand building supply store in your area) these make really nice gifts, and they're something you can put together pretty quickly. You can find instructions here.


4) Monster Pillows


Made of scraps of faux fur and felt, these monster pillows are one of my favorite projects to make for a quick birthday or Christmas present. With a single yard of faux fur, you can make four to six 12-inch pillows (depending on the width of the bolt of fabric). Make a few this holiday season using my quick tutorial.


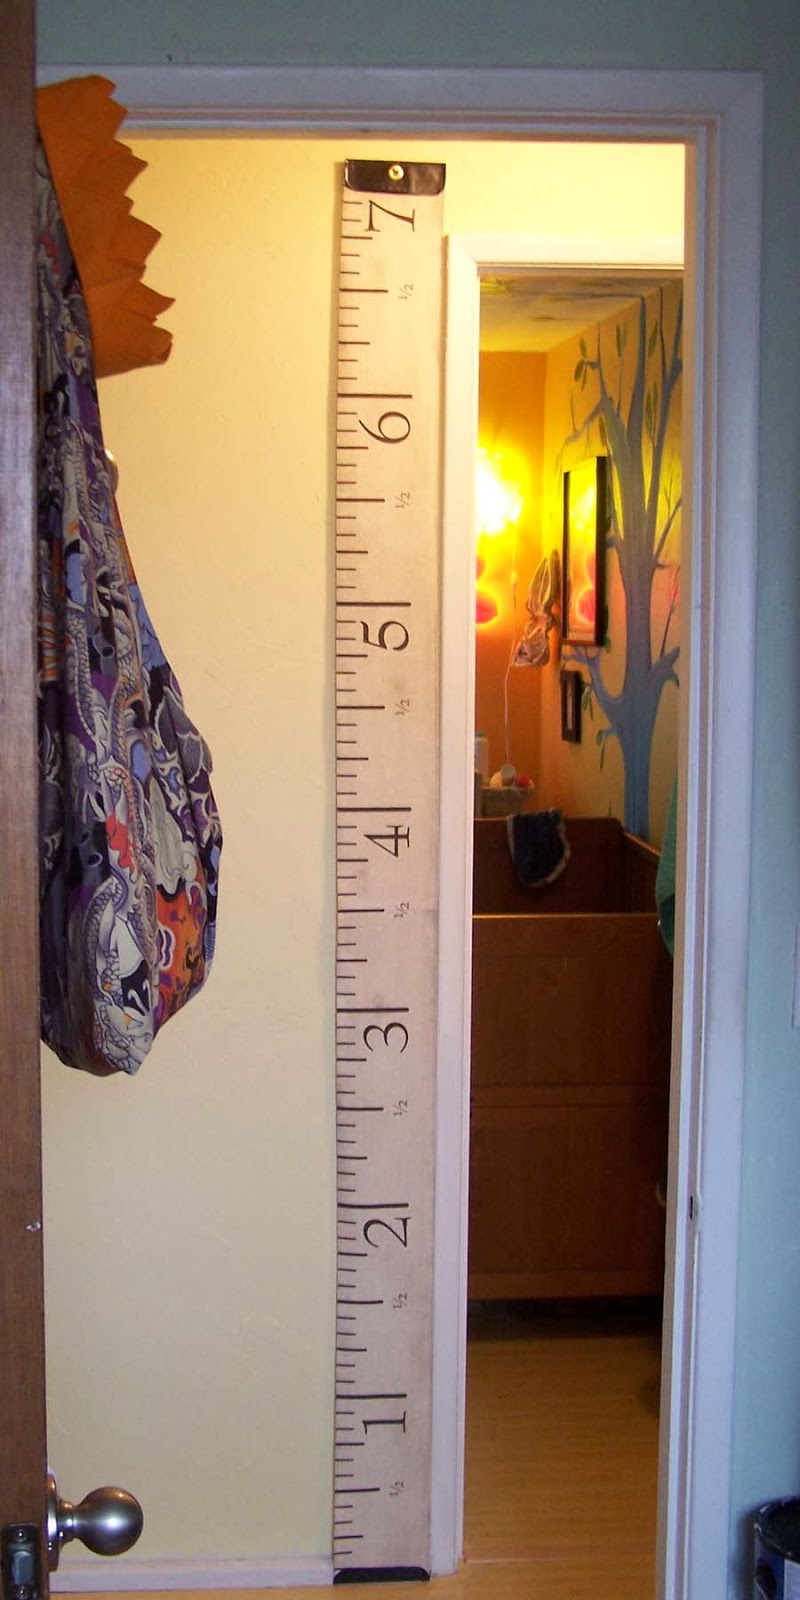
5) Measuring Tape Growth Chart


There's still time to order some measuring tape growth chart fabric to put together one of these wall-hangings for someone you love! Spoonflower is about ten days out on orders, but that should still give you a bit of time for assembly if you get your order in soon. (I sell the fabric and finished charts through my Etsy store, too, but my supply is low right now due to holiday orders). Click here for the assembly instructions. Oh, and I have a metric version available, too! (One yard will make 2 1/2 charts, or order single panels directly from me.)


6) Cheap-o Screen Printed T-shirts (or tea towels)


Custom screen printing with mesh fabric, embroidery hoops and latex paint? Yup. Make your own t-shirts this Christmas and knock a bunch of names of of your shopping list.


7) Freezer Paper Printed T-shirts (or tea towels)


This is a great project for one-off prints. In this post, I present a dinosaur t-shirt, and links to other places in my blog where I feature a pretzel shirt, viking t-shirt, and wood-grain flour sack tea towels. Infinitely customizable, without the time investment of making a silkscreen for each design. Find it here.

All right, readers! Go forth and craft like you've never crafted before! Let's do this!