
We're actually having two piñatas this year for the kiddo's birthday; this one, a hot air balloon, is for his Flying Machines Party with his friends; the other, a motorcycle (saving that for a future post) is something he fell in love with at the grocery store. And because I'm a sucker, I said I'd make him one for his family party as well.
But let's talk about that hot air balloon, hmmm?
Round paper maché isn't hard to make, really. Just blow up a balloon and coat with layers of paper and paste et voila! After a few days of drying time to make sure your piñata doesn't mold, you have a blank canvas.
But I've had a thing for simple, dry piñatas the past couple of years, with pull-strings to boot. I started this one with some cardboard boxes, a round metal bowl, a Make-Do cardboard connector, and some duct tape.
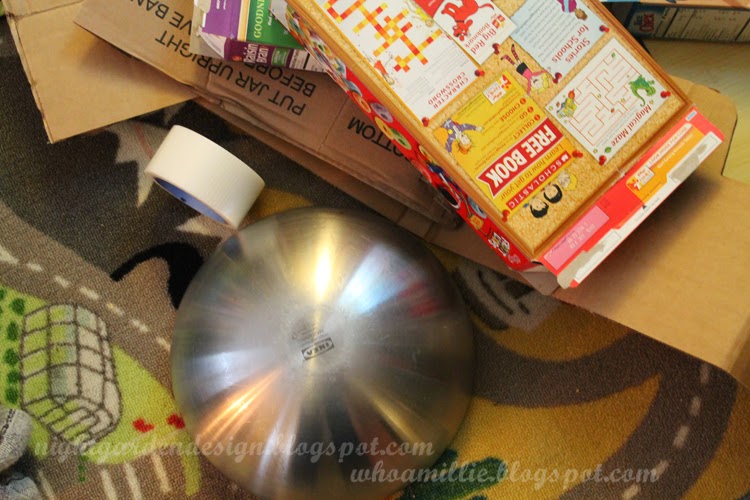
After making a strip of sturdy corrugated board for the bottom rim, I cut long petal shapes out of thin, pliable cereal boxes. These are taped to the rim at the bottom . . .

. . . and have holes poked in the top to fit the cardboard connector.

Here's a view of the inside, which on its own makes a pretty cool design.

I made two, one top and one bottom, then attached at the center with more transparent duct tape.

The Make-Do cardboard connector will support the pipe cleaner hanger coming up.

I used thrift store streamers cut into fringe to decorate (this is actually their third life; last year these streamers were streamer chandeliers at the kiddo's robot party). Glue sticks work really well for attaching the strips quickly and cleanly, but regular white craft glue has a good sturdiness factor.

It's good, I think, to have a shot of how the top is finished off. I just loosened the connector a bit and slipped in some strips of un-fringed crepe, attached with glue. Then I tightened the connector back up for a nice, clean finish.

The basket of the hot air balloon is a four-sided box (no top, no bottom) covered inside and out with more streamers.


To get a number or other design, I work with 3/4-inch sections of streamer, cut into two fringes. I just slip them up under the existing rows of fringe and glue in place, then trim to match row length.

A gold pipe cleaner runs through the piñata, through the two holes in the connector (essentially wiring everything together), then wraps around the exposed end and forming a hanging loop.

The basket is also held in place by pipe cleaners. Silver ones poke through holes in the cardboard and make hook eyes on each of the four corners. Two long green pipe cleaners twist together end to end to attach the pieces, looping through the silver hook eyes and around the connector at the top.


And here it is all finished in one night! One long night, yes, with all that crepe paper work, but still less drying time than a paper maché ball.
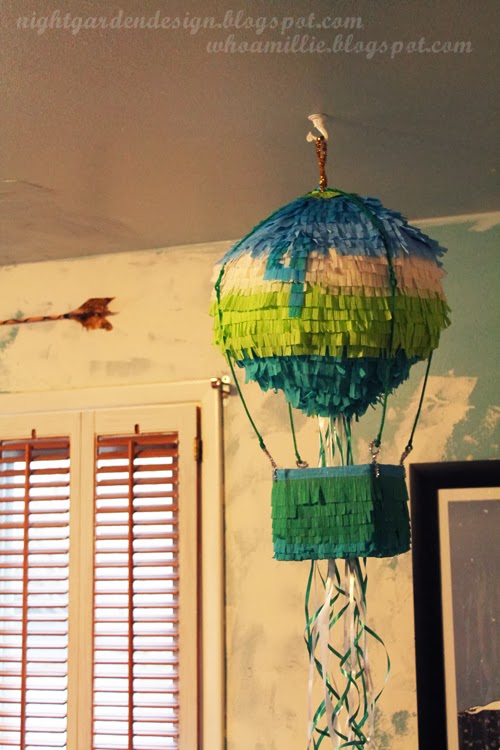
We can't wait for all the kids to bust out the treats when the birthday party arrives!


