
A project for every purpose, hmmm?

So, let's not talk about how I should have used a template before taping and spraying so that everything would look a little more professional. I freehanded this in chalk and then taped around it; I know it doesn't exactly dress to impress. But I would like to write a little about my experiments with aging. Aging the sign, that is, not myself. (*wink*)
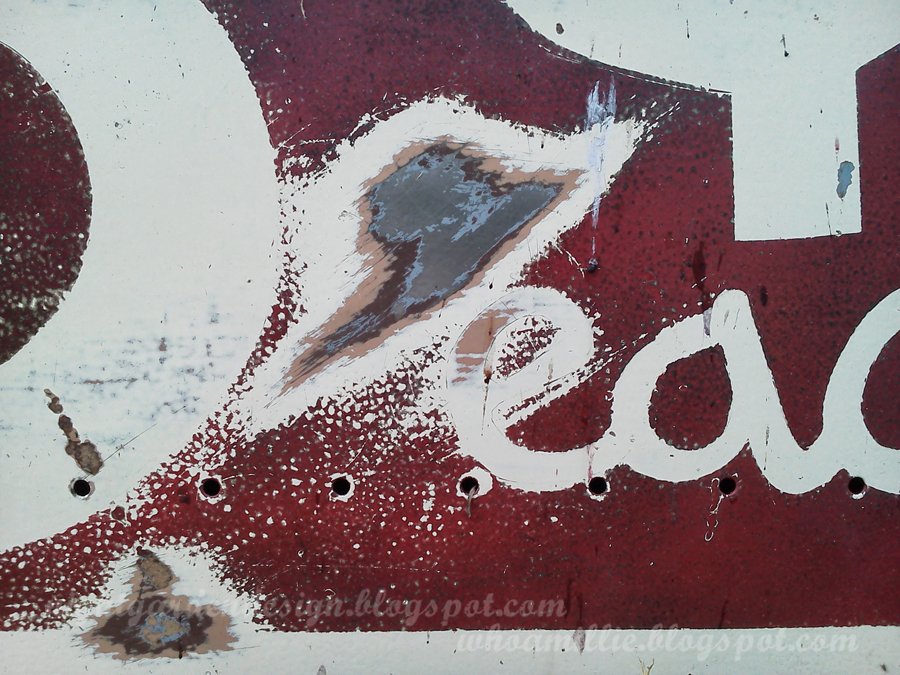
First, I started with a cream painted metal panel from Bring, the recycled building store where I pick up a lot of my project materials. As you can see in the sanded spot in the photo below, there were three other layers of paint under the cream: tan, brown, and gray before the steel shows through. Picking a panel with a lot of layers of old paint in dated colors is a great first step towards making something look vintage, I think.
After I taped my lines, I sprayed with a flat black primer, and then three very light coats of cherry red. Some of the black still shows through, with I think lends some nice age.
You can tell from the above photo there is a flat finish to the red paint. It was glossy out of the can, but if you hit anything with enough scrubber pads, sandpaper, and steel wool, you can dull the finish pretty nicely.
As you see here, my next method to aging is to scrub all the way through the layers of paint in several areas, down to the bare metal. I made the patches somewhat random in order to look like "natural" aging.
And then, of course, rust. I scrub the area with salt while it lays flat, then spray with vinegar and leave it to do its thing. Voila! (It's still wet in this photo, but you can still make it out.)

Ah, rust. I left this laying flat in the rain for a couple of days, which helps hasten the process.

I let the kiddo dance on it a bit, too, to give it some dents and chips.

So, the aging is going well, and this hides a pomeranian. Mission accomplished!


Stay tuned, as I'm in the middle of another sign project I'll be sharing soon. This one is even bigger and way cooler.
Thanks for reading!
No comments:
Post a Comment